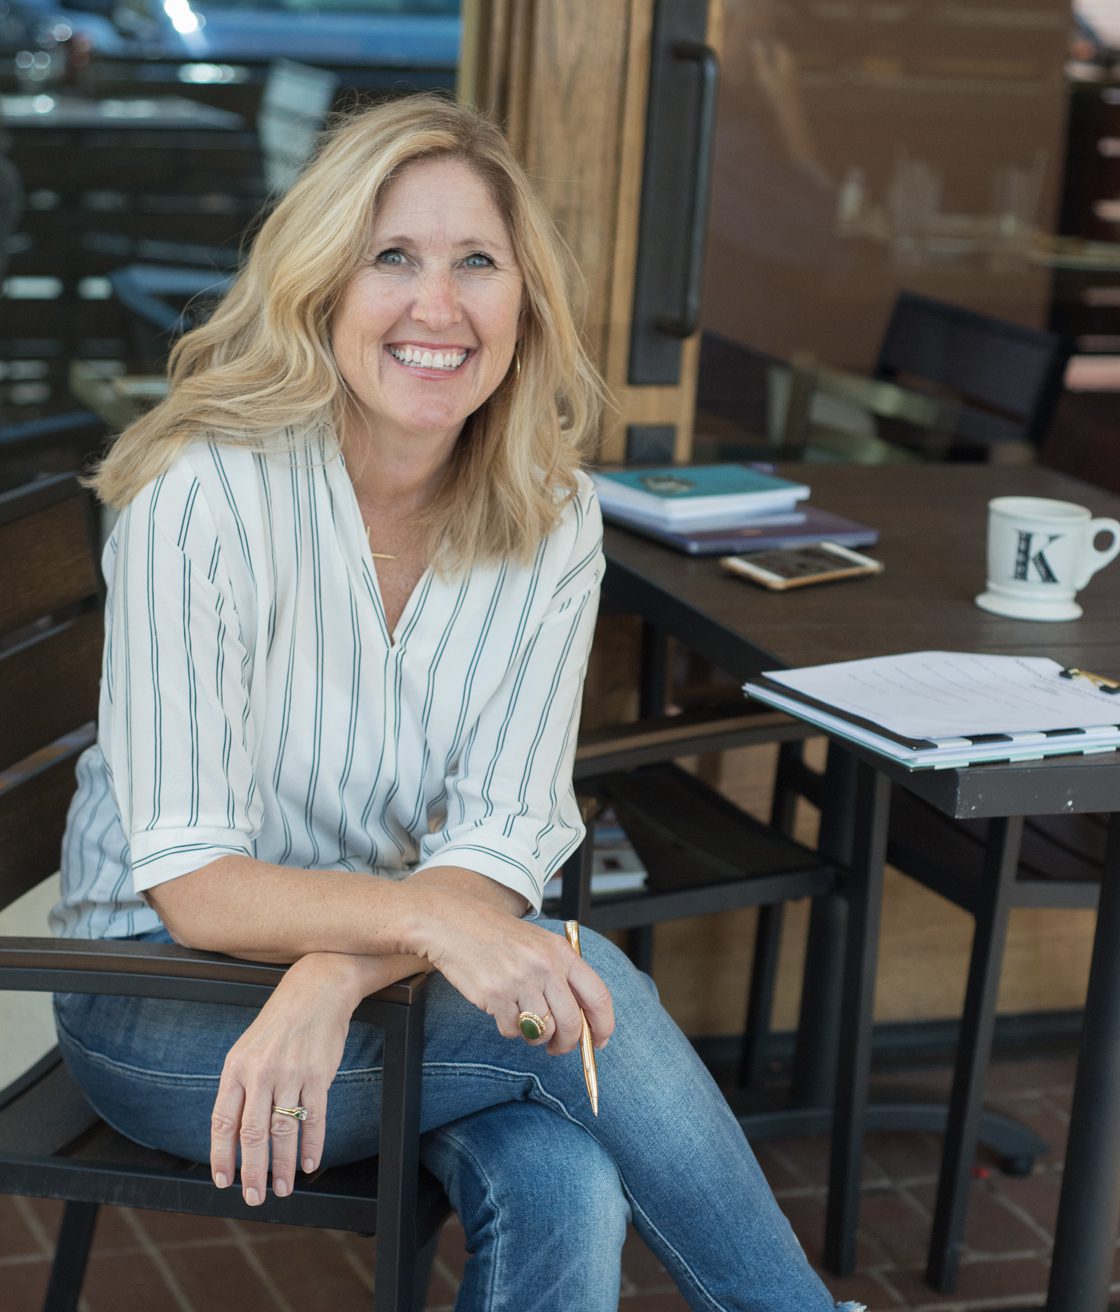
Because many of you have had holiday photo sessions and now have a bunch of beautiful images, I think it’s time you Deck the Walls!
I completely understand that going through your gallery of images and trying to figure out what to print and in what format can be somewhat overwhelming. But I am here to help! These days there are so many great print options, from standout mounts to metal prints, stretched canvas to framed prints, there is no reason that those photos should sit on your computer. You need to deck the walls!
So here you go, a behind the scenes look at my house and how I’ve displayed my photos. As you can see, my kids faces are scattered throughout my house and I LOVE it. I’m a photographer and their mother, so it was bound to happen!
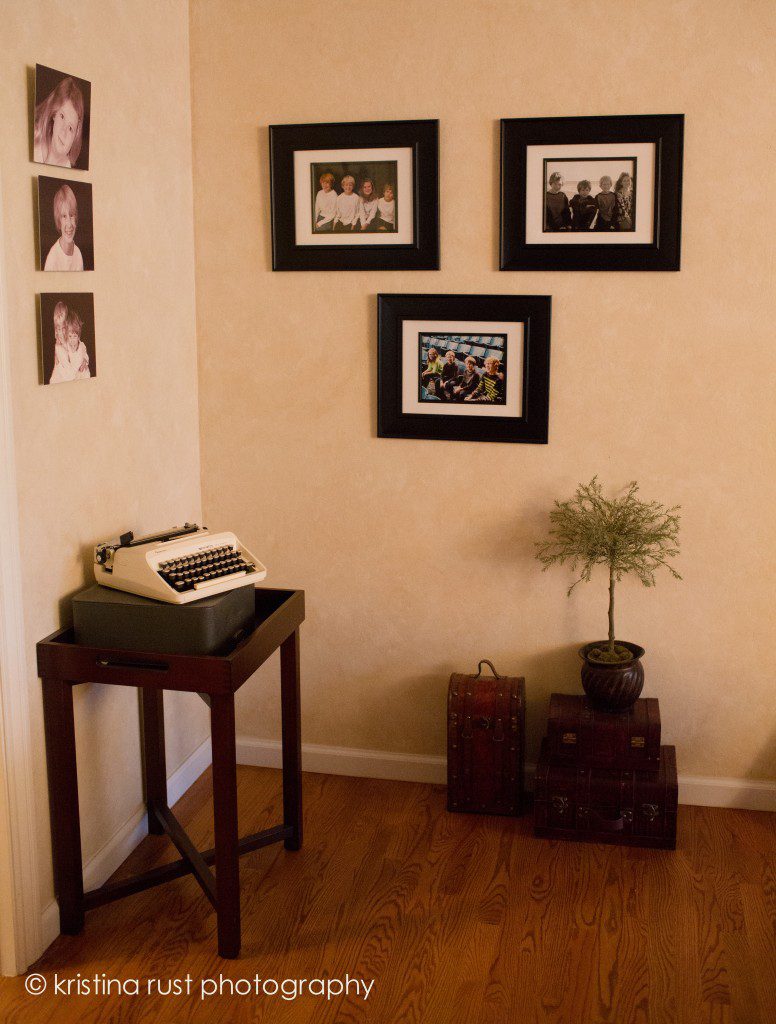
First up, my front room. In this photo, you’ll see some metal prints (8×10) on the left hand side and traditional paper prints (8×10) framed in frames I picked up at Michael’s on the right. My idea with the framed photos was to keep adding one each year…..I must fess up…..I’m a bit behind. Oh and I think it is ok to mix and match the style of framing as long as the grouping is the same.
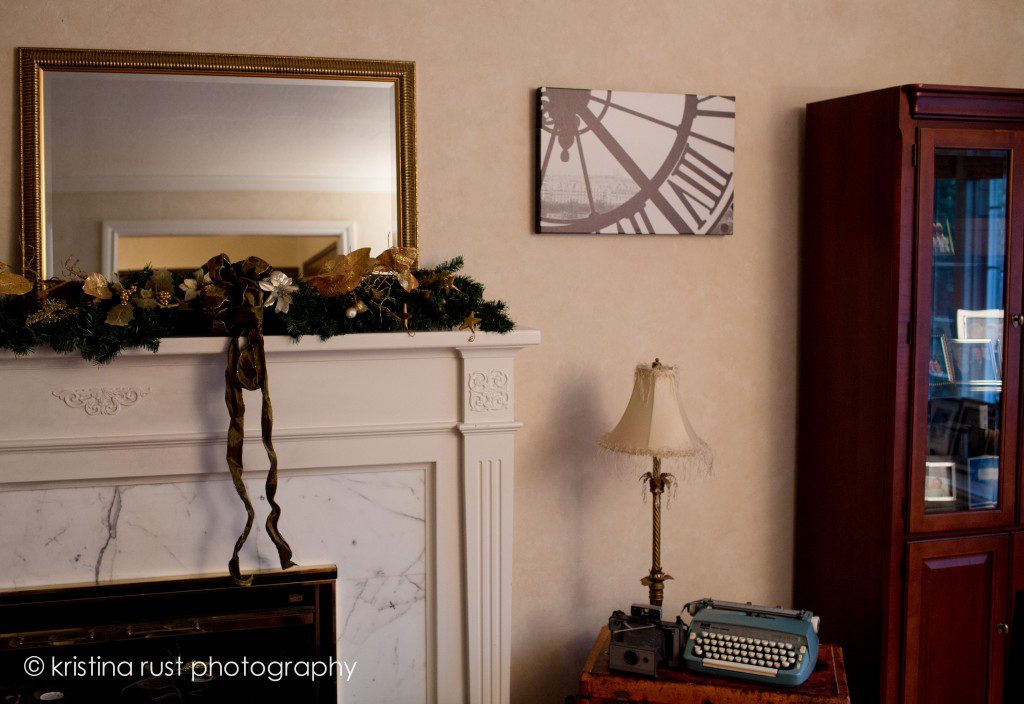
Also in this room, I have one of my favorite photos taken from our trip to Europe two years ago hanging on the wall. It is a 16×24 stretched canvas taken from the Musee D’Orsay…did you notice I have a thing for vintage typewriters?
Below is an old photo of my dining room (I’ve since redecorated and those photos are no longer hanging on the wall), but I wanted to show you how I printed 3 similar 8×10 photos (which are not of my kids) and framed them in very cool 16×16 square frames that I picked up at Aaron Brothers. I love how they look grouped together. Imagine using 3 similar photos of your child grouped like this!
.jpg)
Standout mounts are one of my favorite ways to display photos. They are lightweight, easy to hang and stand out (hence the name) 3/4″ from the wall (I have these hung using velcro mounts from 3M). I love that they are frameless and have a modern yet traditional look. The grouping on the left contains one 16×20 and (4) 8×10 photos and the group on the right is (2) 16×20 with (2) 11×14 standout mounts in the middle. Actually the bottom 16×20 is a stretched canvas but it matched the theme so well that I didn’t mind it being different.
.jpg)
I recently found a very unique vendor that prints on wood. I decided to try them out using some photos from our photo session last fall (thank you Suzanne O’Brien Studio). I really like it although it does give the image a warm look due to the wood.
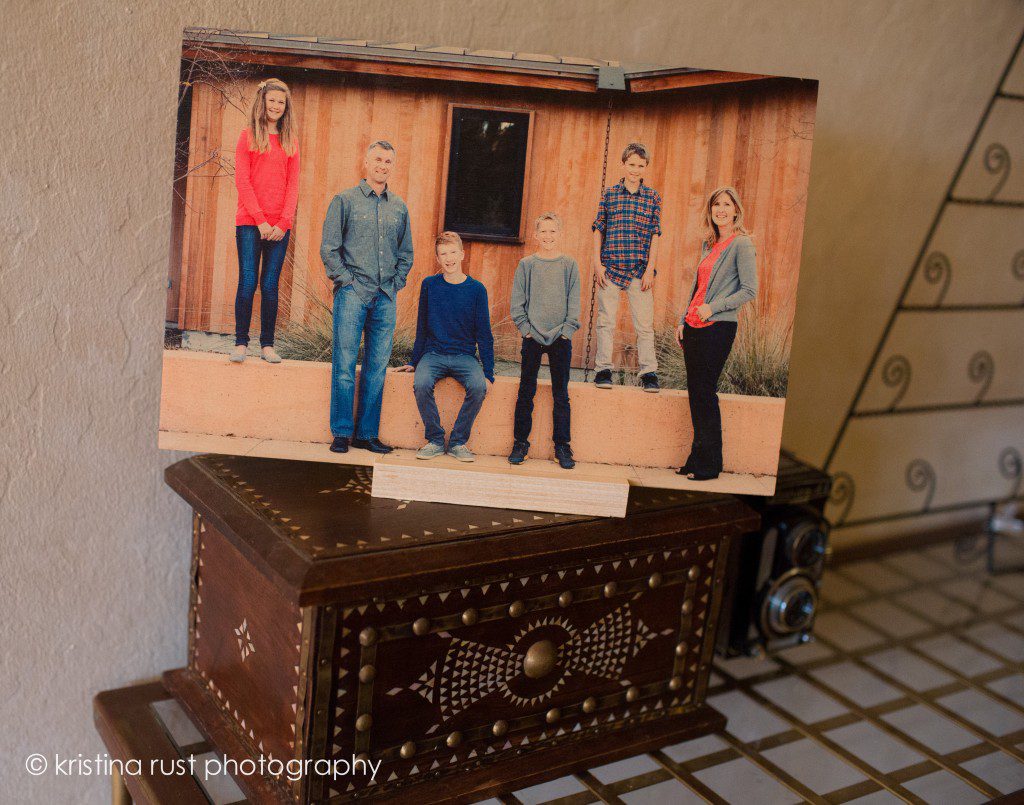
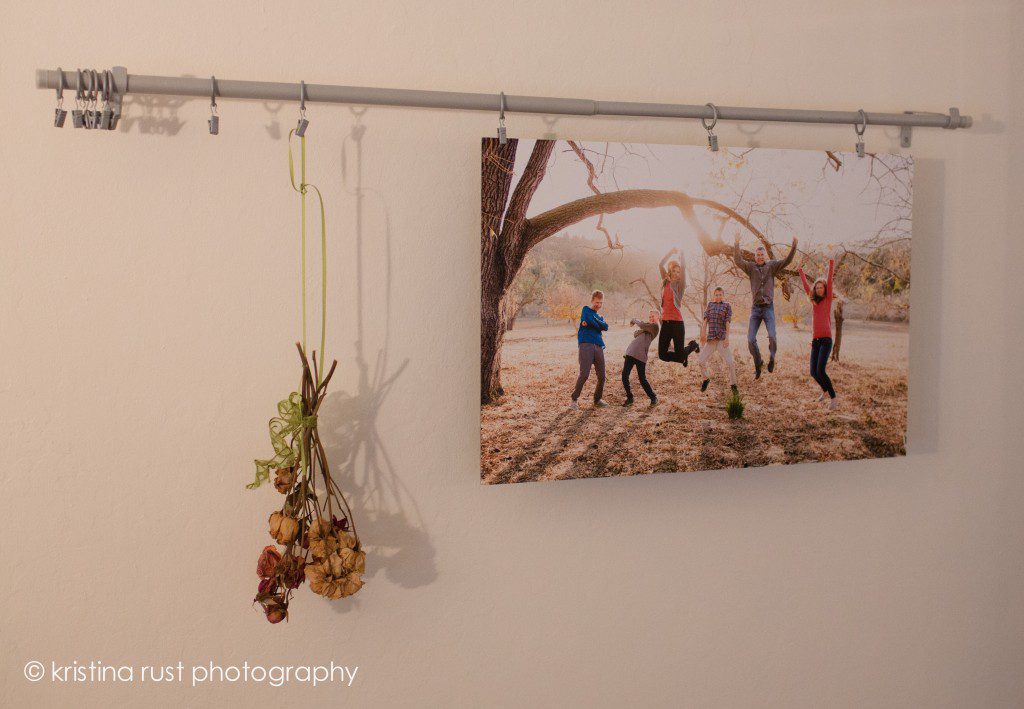
I have the styrene mount pictured below hanging in my office. It could actually be framed but I liked the way it looked hanging from this photo display bar that I picked up at Ikea years ago.
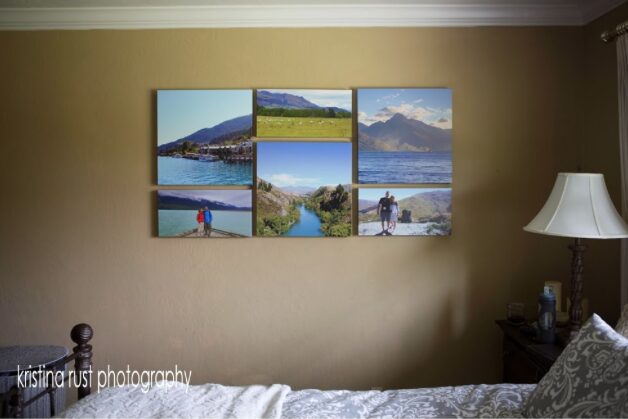
And lastly, here is a collection of canvas wraps that I have hanging in our bedroom. They are from a trip to New Zealand that my husband and I took earlier this year. It was an amazing trip and I’m so glad I have these images on our wall to remind us of the wonderful time we had together.
I hope these photos gave you some ideas of what we can do at your home with your beautiful images. Let’s get together soon and get those photos off your computer and on your wall! I’m happy to bring over these samples and play around with ideas and help you create the perfect collection for your home.
