I have been wanting a new photography backdrop/surface for awhile now but was having a hard time pulling the trigger on purchasing one. I looked at various vinyl options but was concerned that they might wrinkle or be too thin. Because I’m always up for a DIY project (especially now that we are still in quarantine), I turned to Google and found this great tutorial from The Bite Shop.
After watching her video, I decided to give it a try and I have to say, it was so much fun. It was a terrific project to do, especially during these quarantine times. Plus it is much less expensive than buying one. The majority of boards I saw online ranged from $35-75 each. I spent a total of $40 and have the potential to make 6 different surfaces (so far I’ve made 4).
SUPPLIES:
- MDF plywood or any inexpensive board. I actually had one that I bought awhile ago for another project and it was huge. So I cut it down to three 24 x36 boards.
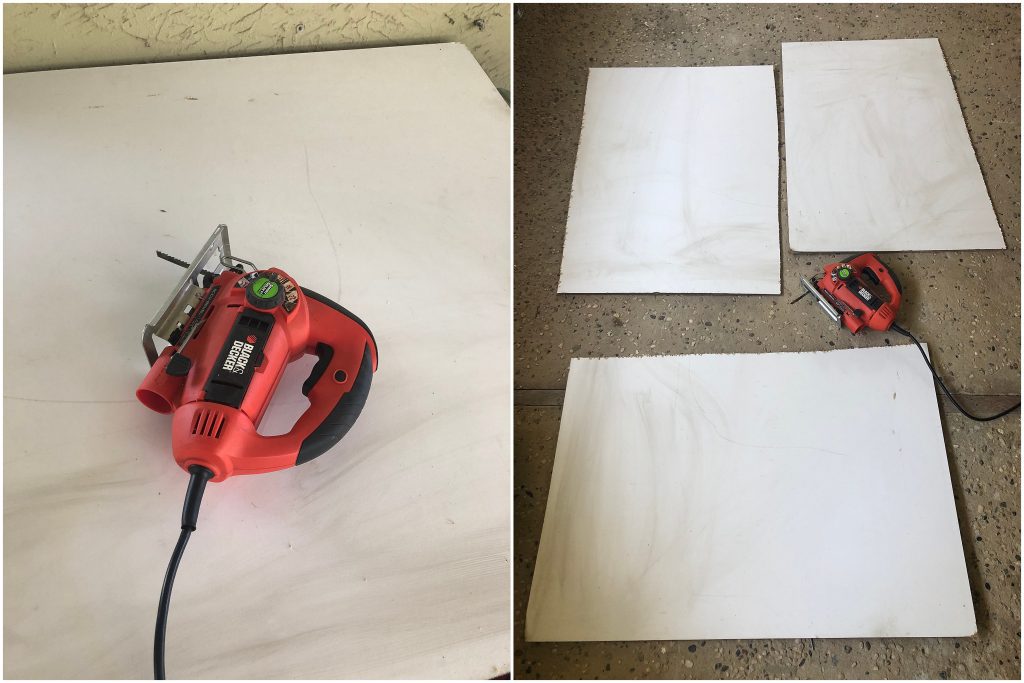
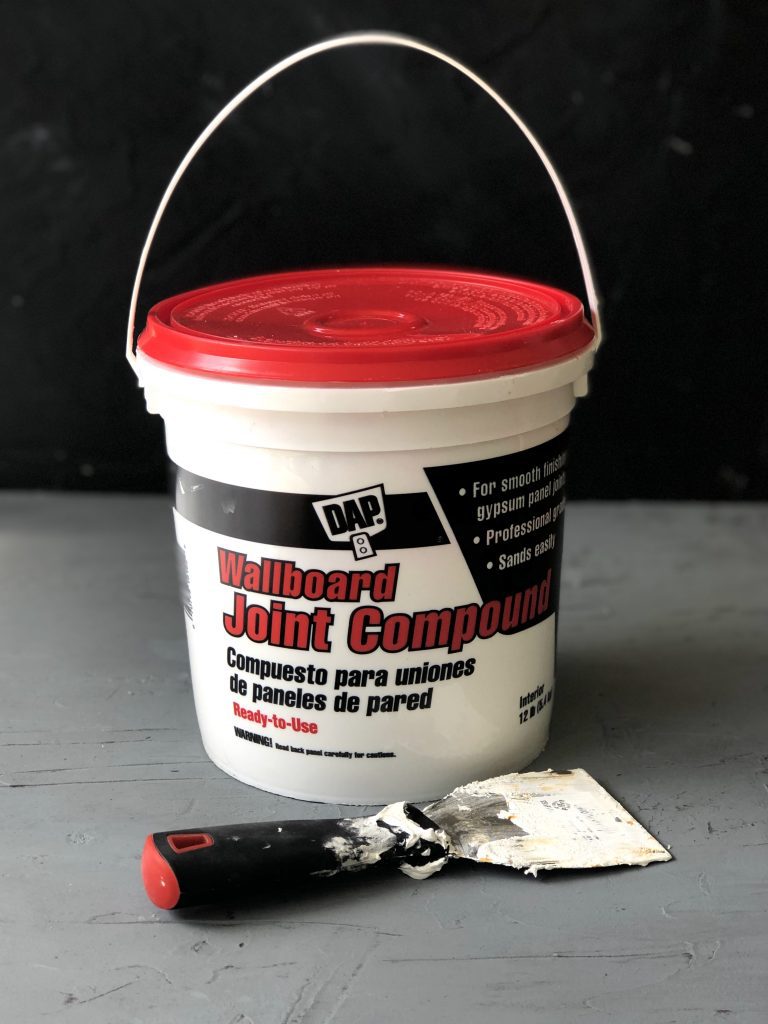
- Joint compound and a putty knife. I bought a bucket of it for $7.99 and the putty knife was $4.50.
- Paint. I did buy a quart of gray chalk paint at my hardware store and splurged a bit. It was $20. But for my other boards I just used old paint that I had from past projects. They key is to use a matte finish because you don’t want anything too shiny or reflective.
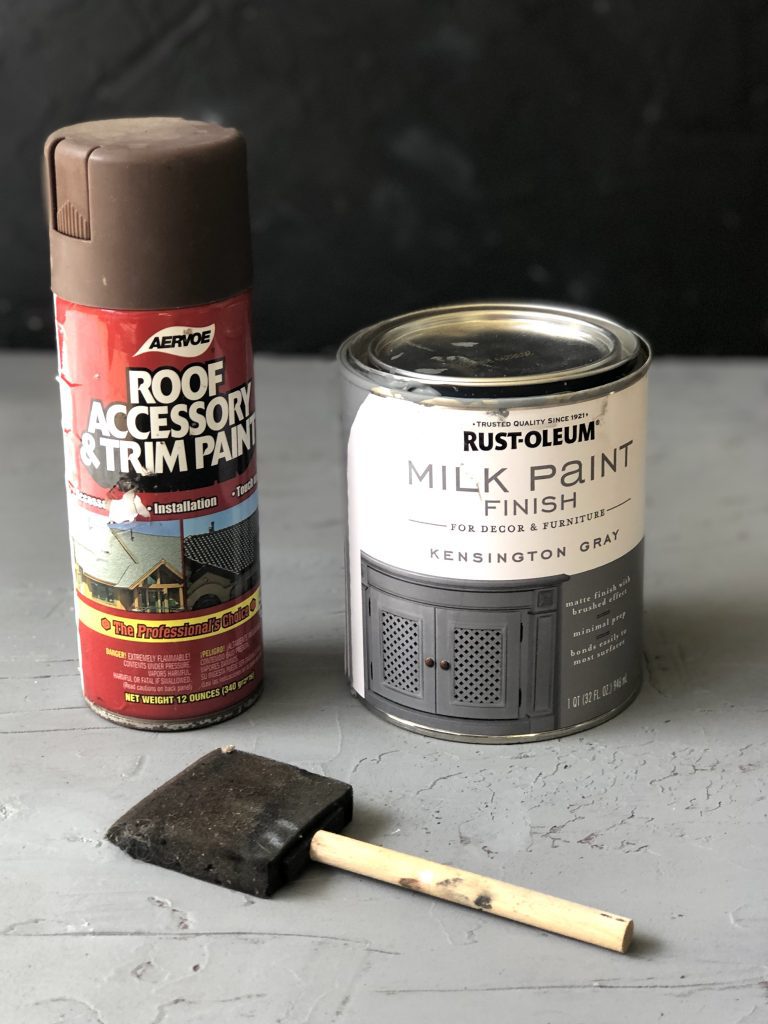
- And to finish off your project a can of matte spray. I still need to do this and need to run to my hardware store to pick up a can or two.
THE PROCESS: Basically this is an easy process and you really can’t make any mistakes. The hardest part is being patient in between each step. 🙂
- Apply the joint compound to the board. You can “paint” it on however you wish. I found that I preferred “painting” it on in one direction. And then dragging the putty knife lightly over the top to add or smooth out ridges.
- After the joint compound dries, add you first layer of paint. To create dimension, it is a good idea to paint a dark layer of paint first. On my gray board, I used some old brown spray paint that I had (pictured above).
- Once your dark layer of paint as dried, apply your main color of paint. You can paint it on however you like. This is your opportunity to get creative. For my gray board, I painted on the gray paint and then took a wet rag and wiped some gently away. I wanted to try and create dimension and add lighter areas to the board. I did the same thing with the black board.
- If you are happy with your finished project and it has dried, apply the matte finish spray. If you are not loving it , just paint over it and start again.
Here are the boards I’ve made so far:
The black version:
 The gray:
And one that I decided not to paint…it is just the joint compound.
 I also did one side of the board where all I did was paint it gray. I thought I’d try it without the joint compound. And you know what? I really like it too! For this one, I just painted it gray and then lightly rubbed off some of the paint in random spots to try and create a bit of dimension.
I think these turned out pretty great. If you decide to give it a try, please let me know. I’d love to see what you make!


