I recently purchased a lens ball/crystal ball and I’ve been having so much fun taking photos with it. It is such a fun little tool to play around with and it has really challenged my creativity. I love that it creates a fish-eye effect without the expense of having to buy a fish-eye lens. I also really like playing around with the reflections and find the images that I can capture to be so unique and a bit mind-boggling to the viewer.
I purchased my ball on Amazon (of course). It is an 80 mm and you can find one like it here. Be sure to take the clear stand out of the box. I didn’t realize it had one and accidentally threw it away (such a bummer).
As far as taking photos go, you have several options: use the included stand, set the ball on a flat surface (be sure it doesn’t roll away), or have someone hold the ball for you. Here are a few tips and tricks that I’ve learned while playing around with it (all of the photos below were taken with my iPhone).
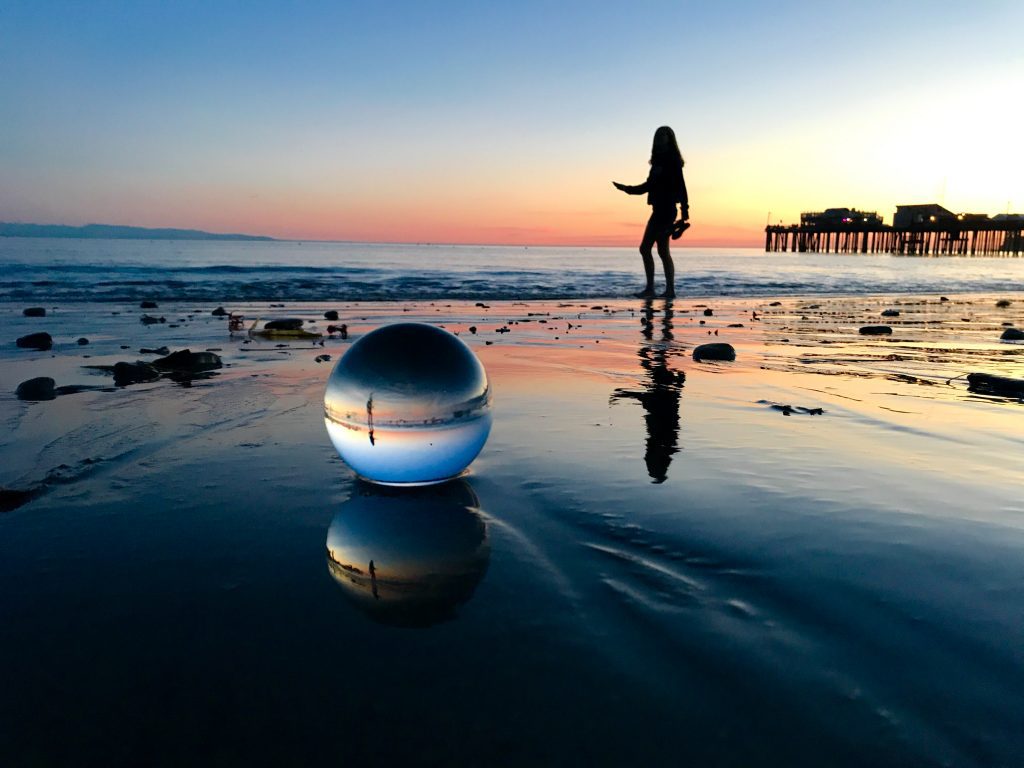
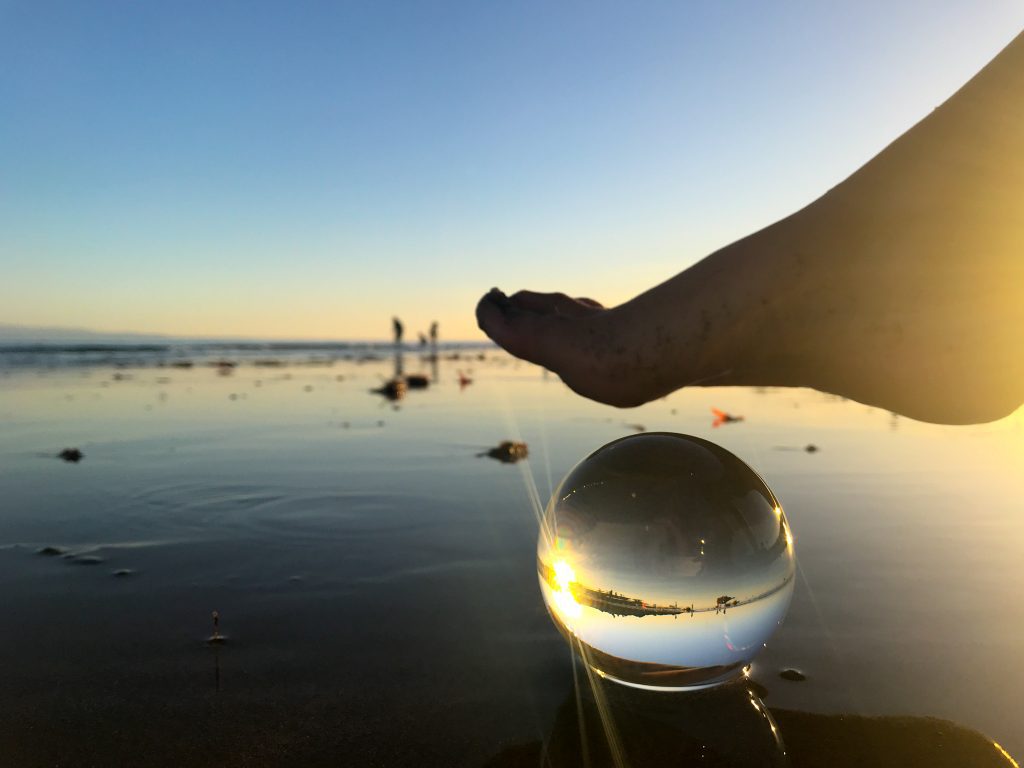
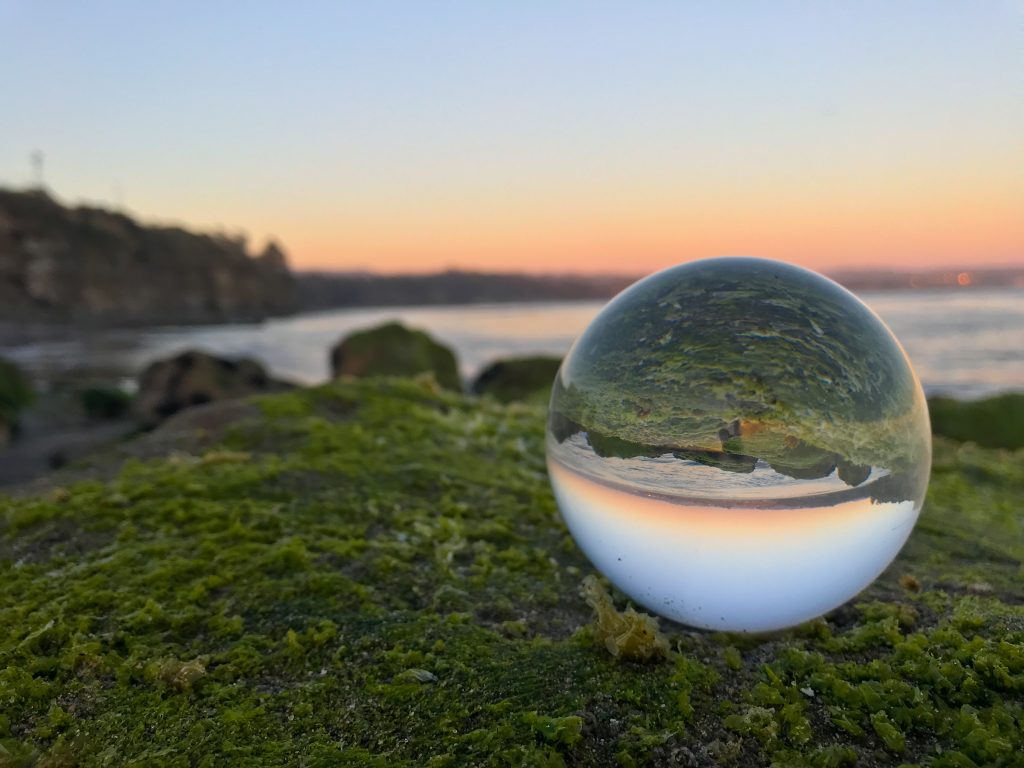
1. Use a reflective surface. The photo below is my favorite that I’ve taken so far. Because I set the ball in the sand after a wave, it was in a bit of water. This provided a reflective surface for the ball. So I was able to capture not only my daughter’s reflection in the ball but the reflection of the ball in the sand. And because the sun was behind my daughter, I captured her in silhouette which I also love.
2. Focus on the ball. When shooting be sure to have the focus on the ball so that the image is crisp. When using an iPhone, just tap your screen where the ball is to lock in focus. I took several where I forgot to do this and the reflection in the ball was blurry and what I wanted was a sharp image in the actual sphere.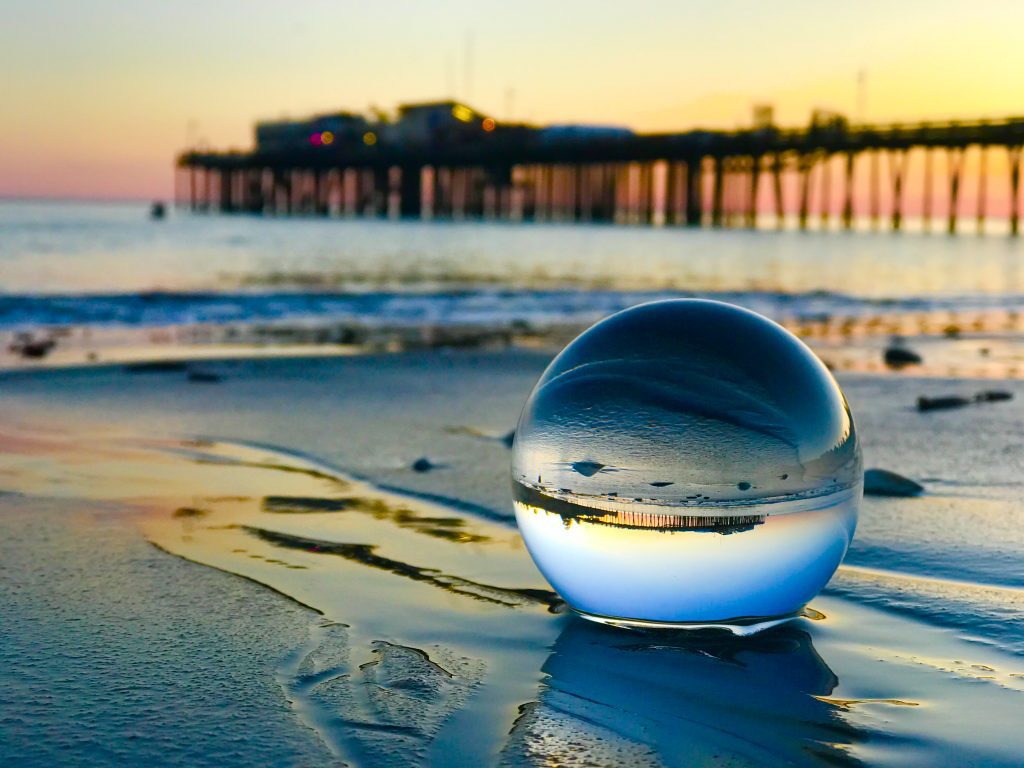
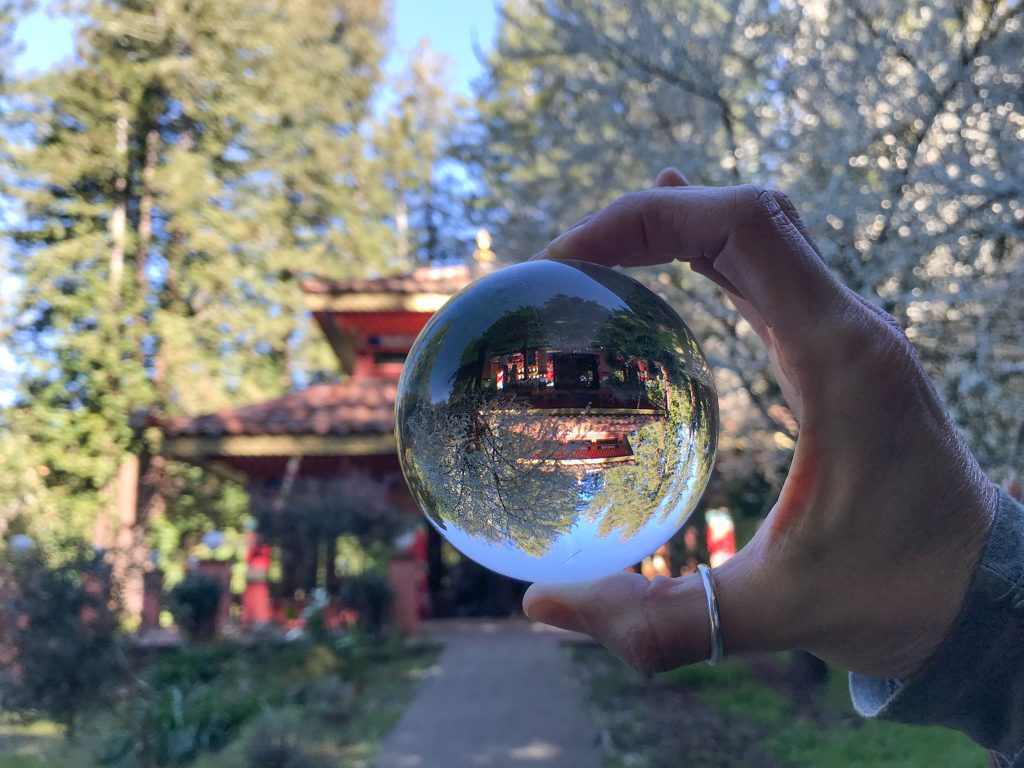
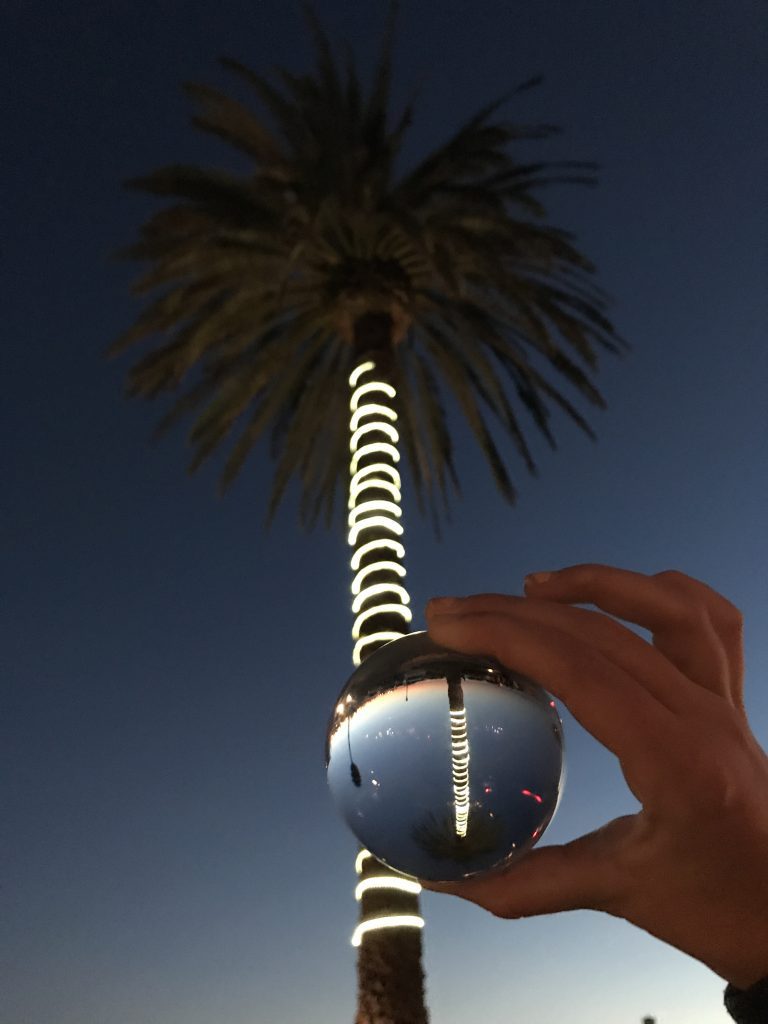
3. Enlist help. When having someone hold the ball for you, be sure to have them hold it on the edges so that their hand is not in the reflection.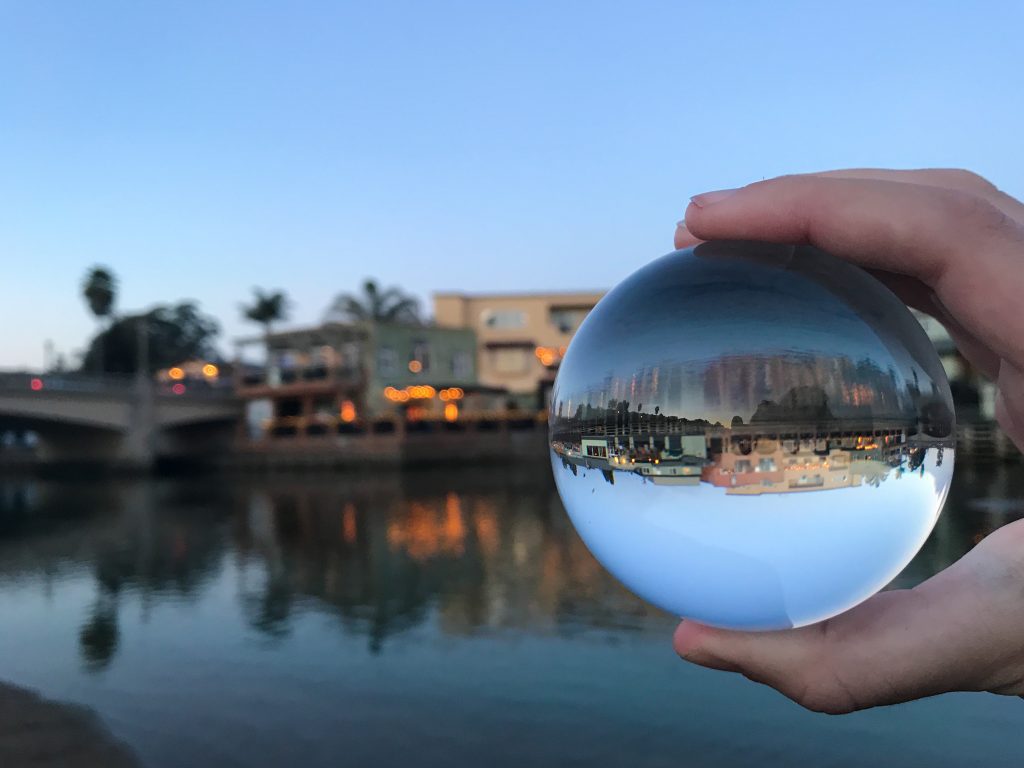
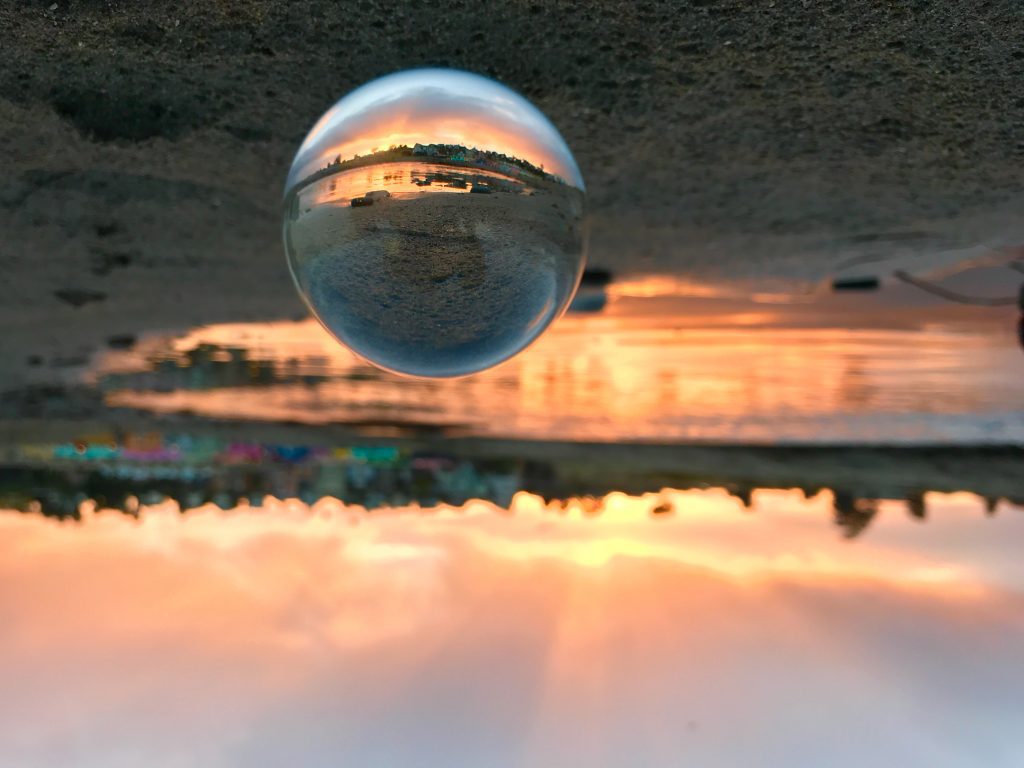
4. Place ball on a higher surface. Placing the ball on a higher surface will provide less lens distortion and will fill the ball with the image (whereas when shooting on the ground, you’ll also pick up a lot of the surface area that the ball is placed upon as part of the foreground in your image). Notice the beach photos above how there is a lot of the sandy beach in the image because I had the ball on the ground however in the image below, I put the ball on top of a brick column so it was higher up and the tree fills the image. Note: I also flipped the image in post processing so the tree would not be upside down. 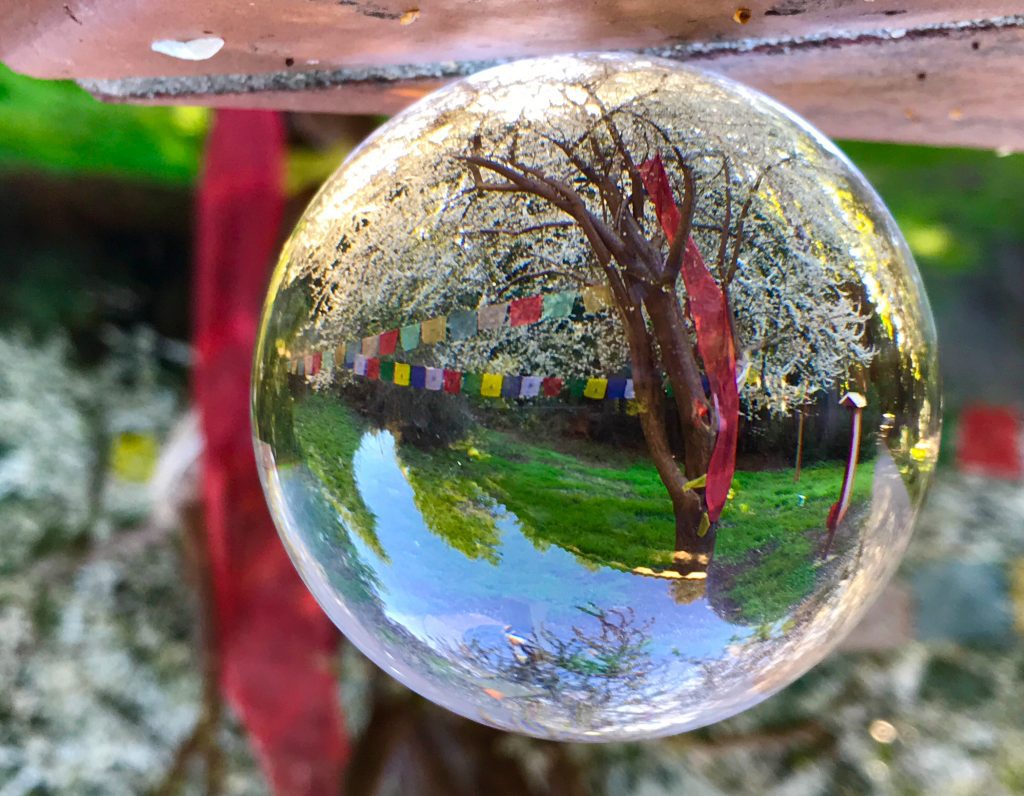
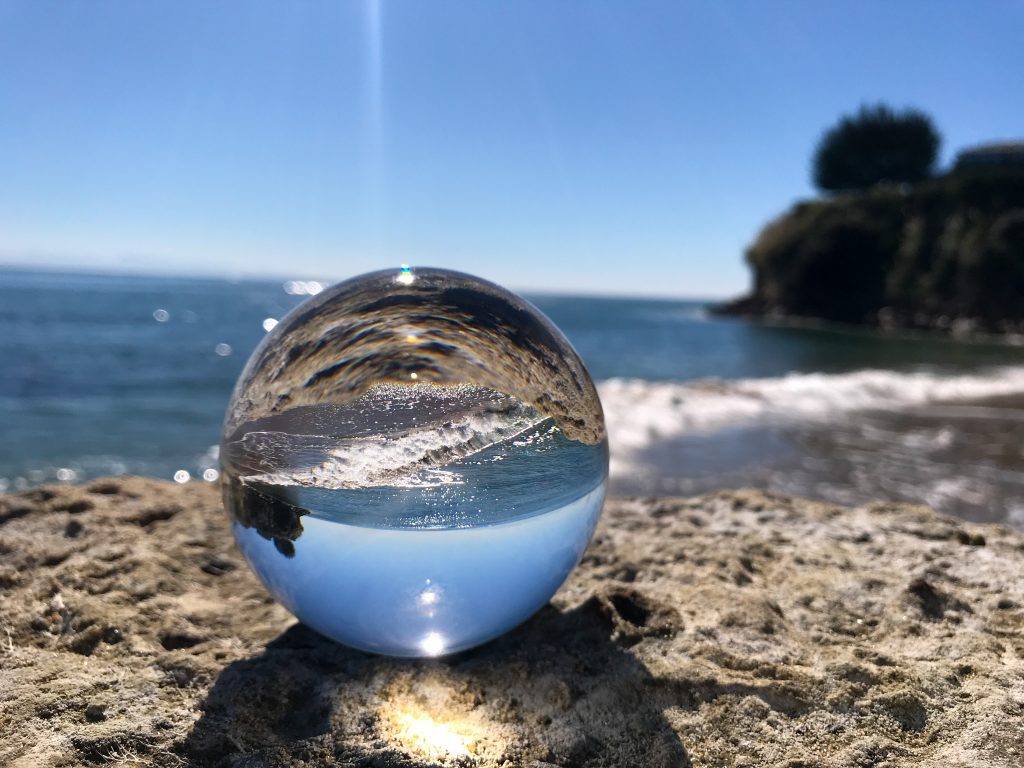
5. Take a video. A really trippy type of photo to make is to take a slow motion video of your subject in your lens ball. In this case, I captured the waves at the beach through the ball. I was on a small cliff overlooking the ocean and took a slow motion video. I then flipped the video using an app called Rotate & Flip Video. I think this is such a cool effect.
If you are looking to create some interesting and unique images, I highly recommend getting a lens ball. It is an inexpensive tool that provides a lot of bang for the buck. Here are a few other images I captured……


